

How Do You Start Compost composting orange peels and citrus compost tumbler reviews hot vs cold composting diagnose and fix compost issuesing at Home?
You have been tossing banana peels, coffee grounds, and eggshells into the trash for years, and every time you do it, a small voice in your head says: "There has to be a better way." There is. The average American generates about 4.9 pounds (2.2 kg) of municipal solid waste per person per day, and food scraps represent one of the largest avoidable components of that total, according to the EPA's national waste data. Of the 66 million tons of food wasted annually in the US from retail, food service, and residential sources, only about 5% is composted — the rest goes to landfills, where it decomposes without oxygen and releases methane, a greenhouse gas roughly 80 times more potent than CO₂ over a 20-year horizon. what to feed your worm bin which composting method best fits your yard and budget composting horse manure cheap compost bin to build whether homemade compost is better advanced no-turn composting an electric composter how to compost used coffee grounds
Starting a compost bin is simpler than most people think, and it works whether you have a sprawling backyard or a small apartment balcony small-space companion planting. This guide walks you through every step — from choosing the right bin to troubleshooting common problems — so you can turn kitchen waste into rich, dark compost for your garden. A basic backyard setup takes about 2 hours and costs under $50 in materials. And the payoff? You will reduce your household waste by 30% or more while producing the best soil amendment money literally cannot buy. hot composting the Berkeley way
What you will learn in this guide:
- How to pick the right compost bin for your space and budget (from free pallet builds to tumblers)
- The simple brown-green balance that makes composting balancing browns and greens actually work — no chemistry degree needed
- A step-by-step setup process you can complete this weekend
- How to troubleshoot smells, pests, and slow decomposition
- The permaculture principle that explains why composting transforms your entire garden
Key Takeaway
Composting turns kitchen and yard waste into nutrient-rich soil amendment in 4 weeks to 12 months, depending on your method. The key is balancing carbon-rich "browns" with nitrogen-rich "greens" at roughly a 30:1 ratio by weight — or about 3 parts brown to 1 part green by volume in your bin. Get that right, and nature does the rest.

Which Compost Bin Is Right for Your Space?
The best compost bin is the one you will actually use. There is no single "right" answer here — your ideal setup depends on how much space you have, how much you are willing to spend, and whether you need to keep wildlife out. Here is a breakdown of the main options:
Open pile or heap: The simplest option — just stack materials at least 3 feet (1 m) high and 3 feet wide on bare soil. Free to start, and it works surprisingly well for yard waste and garden trimmings. The downsides? It can look untidy, it is harder to manage moisture, and it may attract curious animals. Best for large rural properties where aesthetics are not a concern, per Penn State Extension composting guidance.
Wire or mesh bin: A 10-foot (3 m) length of galvanized chicken wire bent into a circle makes a sturdy, well-aerated bin for around $20 to $40. You can lift the whole cylinder off to access finished compost at the bottom. It is a solid middle ground between free-form piles and more structured systems.
Enclosed wooden bin: A single wooden bin costs $30 to $75 in lumber and provides better containment and a tidier appearance. The gold standard for serious gardeners is a three-bin pallet system — one bin for fresh materials, one for active composting, and one for curing. A three-bin setup built from reclaimed pallets costs roughly $30 to $100 and handles a family's yard and kitchen waste with room to spare, as recommended by Growing a Greener World.
Compost tumbler: Tumblers cost $200 to $500 but make turning effortless — just spin the barrel. Dual-chamber models let you process one batch while filling the other. Interestingly, a Which? Gardening study reported by GrowVeg found that a traditional heap produced usable compost in about 10 weeks, while comparable tumblers took about a month longer. Tumblers shine for pest control (rodents cannot get in) and for gardeners with physical limitations that make pitchfork-turning difficult.
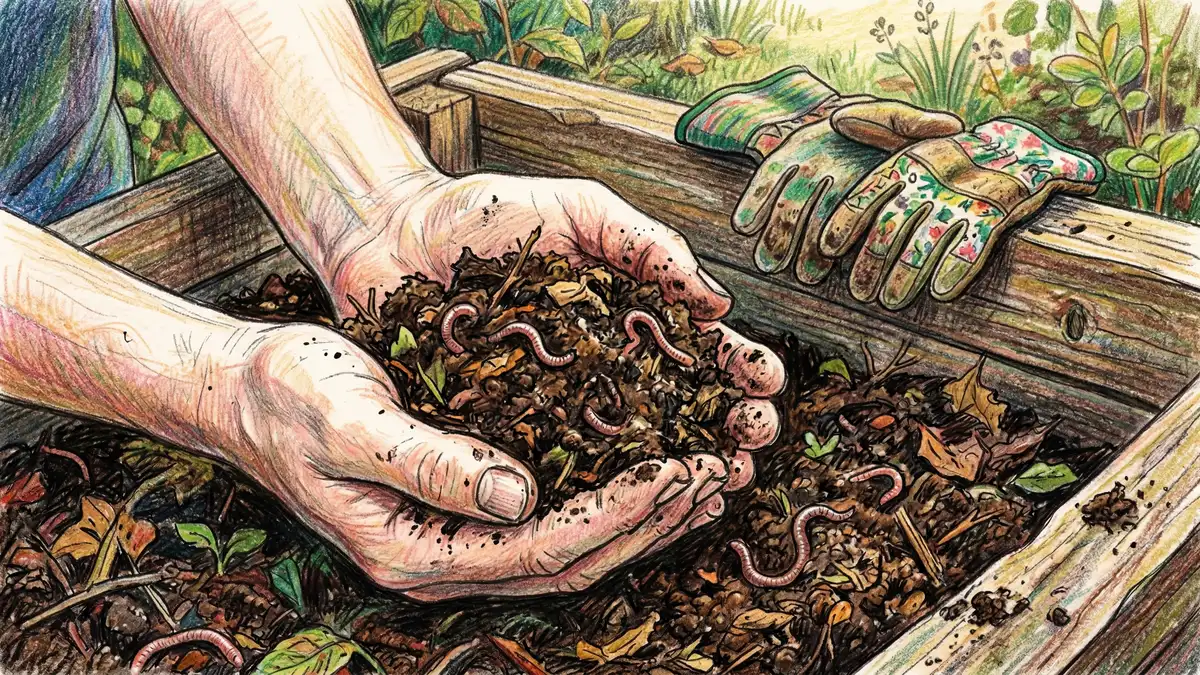
Worm worm bin winter care harvest worm compost choose the best worm bin bin (vermicomposting): Red wiggler worms which worm species to choose vermicompost fertilizer (Eisenia fetida) process about half their body weight in food waste per day, making worm bins perfect for apartment balconies or under-sink setups. A DIY worm bin costs under $5 if you use repurposed buckets. We cover this in depth in our worm composting guide.
Bokashi (fermentation) bokashi fermentation guide: This Japanese method uses an airtight bucket and beneficial microbes to ferment all food waste — including meat, dairy, and bones that traditional bins cannot handle — in just 2 weeks. Systems cost $50 to $200. Ideal for apartments with no outdoor space at all. which paper and cardboard to compost
| Bin Type | Cost | Space Needed | Time to Compost | Best For |
| Open pile | Free | Large yard | 6-12 months | Yard waste, rural properties |
| Wire mesh bin | $20-$40 | Medium yard | 3-6 months | Budget-friendly starter |
| Wooden bin (3-bin) | $30-$100 | Medium-large yard | 2-4 months | Serious gardeners |
| Tumbler | $200-$500 | Small-medium yard | 4-10 weeks | Pest control, easy turning |
| Worm bin | $5-$100 | Countertop/balcony | 2-3 months | Apartments, small spaces |
| Bokashi | $50-$200 | Under sink | 2 weeks + burial | Meat/dairy, zero outdoor space |
Sources: Gardener's Supply, Eartheasy, GrowVeg

Where Should You Put Your Compost Bin?
Location matters more than most beginners realize. The right spot speeds up decomposition, reduces odor problems, and makes it far more likely you will actually keep composting through the seasons.
Partial shade is ideal for most climates. Full sun heats the pile faster but dries it out, requiring constant watering. Full shade keeps moisture stable but slows decomposition during cooler months. A spot that gets morning sun and afternoon shade — such as under a deciduous tree or along a fence line — gives you the best of both worlds, according to composting research covered by Texas A&M AgriLife Extension.
Place it on bare soil (not concrete or pavers) so earthworms and beneficial microbes can migrate into the pile from below. Good drainage is essential — avoid low spots where water pools. And here is the most underrated tip: put it somewhere you walk past every day. A bin tucked in the far corner of the yard collects cobwebs, not compost. Penn State Extension emphasizes that convenience is the strongest predictor of consistent composting behavior.
Why This Works: Zone 1 Placement
In permaculture design, your property is organized into zones based on how often you visit them. Zone 1 is the area right around your home — the path between your kitchen door and your garden. Placing your compost bin in Zone 1 means it is always within reach, so adding scraps becomes a habit rather than a chore. This is the same principle that puts herb gardens near the kitchen: the things you use most should be closest to where you live.
What Goes In — and What Stays Out?
The magic of composting comes down to two categories: greens (nitrogen-rich, wet) and browns (carbon-rich, dry). Getting the balance right is the single most important factor in producing good compost without smells or problems.
Greens (nitrogen) include fruit and vegetable scraps, coffee grounds (C:N ratio of about 20:1), fresh grass clippings (15-25:1), plant trimmings, and tea leaves compost your autumn leaves. These materials decompose quickly and generate heat. Browns (carbon) include dry leaves (30-80:1), shredded cardboard and newspaper (150-560:1), straw (40-100:1), wood chips (100-500:1), and sawdust, according to Cornell University's C:N ratio database. Browns decompose slowly but provide structure and airflow.
The ideal C:N ratio is about 30:1 by weight. In practice, that translates to roughly 3 parts brown to 1 part green by volume — think three handfuls of leaves for every handful of kitchen scraps. The UC Davis Agricultural Extension explains that this ratio gives microorganisms the carbon for energy and nitrogen for building proteins at the rate they need both.
| Material | Type | C:N Ratio | Notes |
| Vegetable scraps | Green | 15-20:1 | Chop for faster breakdown |
| Coffee grounds | Green | 20:1 | Excellent nitrogen source |
| Grass clippings | Green | 15-25:1 | Add in thin layers to avoid matting |
| Autumn leaves | Brown | 30-80:1 | Shred for faster results |
| Cardboard/newspaper | Brown | 150-560:1 | Remove tape, shred well |
| Straw | Brown | 40-100:1 | Great for structure and aeration |
| Wood chips | Brown | 100-500:1 | Use sparingly — very slow to break down |
| Eggshells | Brown | N/A | Adds calcium; crush for faster breakdown |
Source: Cornell University Composting — C:N Ratio Data, UC Davis Agricultural Extension
What to Keep Out of Your Compost Bin
Never add meat, fish, bones, dairy products, cooking oils, or pet waste from dogs or cats. These attract rodents, create persistent odors, and may harbor harmful pathogens that home composting temperatures cannot reliably destroy. Also avoid diseased plants, weeds that have gone to seed (unless you are hot composting above 130 °F / 55 °C), and anything treated with herbicides. For the full breakdown, see our what can you compost guide.
Get Our Free Companion Planting Chart
Join 10,000+ gardeners getting weekly tips on what to plant together, soil health, and permaculture techniques.
Send Me the Chart
How Do You Set Up a Compost Bin Step by Step?
Whether you chose a pallet bin, a tumbler, or a simple wire enclosure, the startup process follows the same basic pattern. Here is how to get your first batch going this weekend:
Choose Your Spot and Assemble the Bin
Pick a level, well-drained spot in partial shade, ideally near your kitchen door for easy access. If building a pallet bin, use rot-resistant wood like oak or cedar and secure pallets with screws or heavy wire. For wire bins, form a 10-foot (3 m) length of hardware cloth into a 3-foot (1 m) diameter circle. Place the bin directly on bare soil.
Lay a Brown Foundation Layer
Start with a 6-inch (15 cm) layer of coarse brown material — twigs, wood chips, or straw. This base layer creates air channels underneath the pile, preventing waterlogging and giving beneficial organisms easy entry from the soil below.
Add Alternating Green and Brown Layers
Add a 2-inch (5 cm) layer of green material (kitchen scraps, grass clippings), then a 2-inch layer of brown material, then a thin layer of garden soil or finished compost to inoculate with decomposer microorganisms. Repeat until the pile is at least 3 feet (1 m) high. Chop or shred large pieces to speed breakdown — Penn State Extension confirms that smaller particles decompose significantly faster.
Water Until Damp — Not Soaking
Your pile should feel like a wrung-out sponge — moist throughout but not dripping. Aim for 40-60% moisture content. If you squeeze a handful and a drop or two of water comes out, you are in the sweet spot. Too wet? Add more browns. Too dry? Sprinkle water as you turn, according to Texas A&M AgriLife Extension guidelines.
Turn Weekly and Monitor
Turn the pile once a week with a pitchfork, moving outside material to the center. A properly built pile should feel warm to the touch within a few days — hot composting reaches 130-160 °F (55-71 °C) during the thermophilic phase. If it does not heat up, add more greens. If it smells, add more browns. Finished compost takes 4-8 weeks with active management or 6-12 months with cold composting.
Key Takeaway
You do not need to overthink composting. Start with a 6-inch brown base, alternate green and brown layers at a 1:3 ratio by volume, keep it as damp as a wrung-out sponge, and turn it weekly. Your pile will tell you what it needs — if it smells, add browns; if it is not heating, add greens. That is really all there is to it.
What If Something Goes Wrong?
Even experienced composters run into problems. The good news: almost every composting issue has a fast, simple fix. Here are the most common problems and what to do about them:
Smells like rotten eggs or sour garbage: This means the pile is too wet and has gone anaerobic (no oxygen). Add dry brown materials — shredded newspaper, dry leaves, or straw — and turn the pile thoroughly to reintroduce air. The LSU Agricultural Center recommends breaking up any matted clumps of green material at the same time.
Smells like ammonia: Too much nitrogen. The C:N ratio is out of balance, and excess nitrogen is escaping as ammonia gas. Add carbon-rich browns and mix thoroughly. Cornell's composting chemistry guide explains that at C:N ratios below 30:1, nitrogen is lost as ammonia — exactly what you are smelling.
Not heating up: The pile might be too small (needs at least 3 × 3 × 3 feet / 1 m³), too dry, or lacking nitrogen. Add fresh green material, water it to the wrung-out sponge level, and ensure the pile is large enough. For hot composting, you need to build the pile all at once rather than adding gradually.
Attracting pests: Always bury fresh food scraps under a layer of browns — never leave them exposed on top. For persistent rodent problems, line the base and sides of your bin with ¼-inch (6 mm) hardware cloth, as recommended by Cornell Cooperative Extension. Remove other food attractants nearby (bird feeders, pet food bowls) and keep a tight-fitting lid on enclosed bins.
Taking forever: Cold composting naturally takes 6-12 months, and that is perfectly fine. If you want faster results, chop materials smaller, maintain the 30:1 C:N ratio, keep moisture consistent, and turn weekly. A compost thermometer helps you track whether the pile is actively decomposing.
How Do You Know When Compost Is Ready?
Finished compost tells you when it is done. Look for these signs, described by the University of Florida IFAS Extension:
- Size: The pile has shrunk to about half its original volume
- Appearance: Dark brown or black, crumbly texture — none of the original materials are recognizable
- Smell: Pleasant, earthy aroma (that distinctive smell comes from actinomycetes — beneficial soil bacteria)
- Temperature: No longer generating heat in the center
- Feel: When squeezed, it holds together briefly then crumbles — like rich chocolate cake
If your compost is not quite ready, let it "cure" for another 2-4 weeks. Uncured compost can rob nitrogen from soil as it finishes decomposing, so patience pays off. A pile managed well for 3-4 months with regular turning and proper moisture should look dark brown, crumble when squeezed, and smell like fresh earth, according to Penn State Extension.
Once finished, spread 1-3 inches (2.5-7.5 cm) of compost over garden beds as a top dressing, work it into planting holes, or use it to enrich potting mixes. Your plants — and the billions of microorganisms in every gram of finished compost — will thank you. To understand how compost transforms your garden from the ground up, read our soil health guide.
Why This Works: Produce No Waste
In permaculture, the twelfth principle is "Produce No Waste" — the idea that waste is simply a resource in the wrong place. When you compost, you are closing the nutrient loop: kitchen scraps feed soil microorganisms, which feed your plants, which produce food that creates more scraps. This closed-loop cycle is exactly how natural ecosystems work — forests have been composting their own leaf litter for millions of years without any help from us. Your backyard bin is just nature's recycling program, miniaturized. Learn more about these principles in our introduction to permaculture.
Ready to Grow Smarter?
Get our free 20-page beginner's guide to backyard food forests. Two printable worksheets, a year-by-month food-forest calendar, and a curated reading path.
Download the Free GuideBrowse All Guides
Frequently Asked Questions
What should I put in my compost bin to start?
Begin with a 6-inch (15 cm) base layer of coarse brown material like twigs or straw for drainage. Then alternate 2-inch layers of green materials (vegetable scraps, grass clippings, coffee grounds) with 2-inch layers of browns (dry leaves, shredded cardboard). Add a thin layer of garden soil between every few layers to introduce decomposer microorganisms. Your first batch should fill the bin to at least 3 feet (1 m) high for effective heating. Keep it damp like a wrung-out sponge and turn weekly.
How long does it take to make compost composting timelines and how to speed them up?
It depends on your method. Hot composting with active turning produces usable compost in 4-8 weeks. Cold composting (passive piling without turning) takes 6-12 months. Bokashi fermentation completes in about 2 weeks, though the fermented material then needs 2-4 weeks buried in soil to finish. Worm bins produce castings in 2-3 months. Chopping materials smaller, maintaining the right moisture, and turning regularly are the biggest factors in speeding things up.
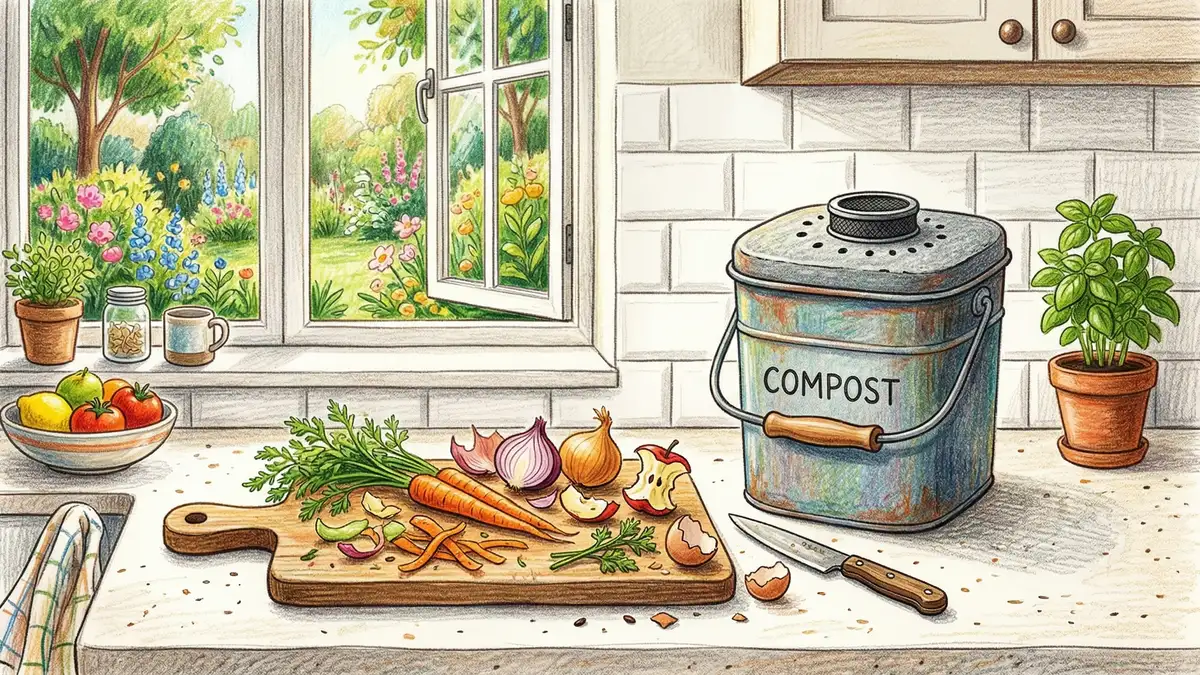
Can I compost in an apartment without a yard?
Yes — several methods work in small spaces. A worm bin fits under a kitchen sink or on a balcony and processes food scraps quietly with no odor when managed well. Bokashi bins are airtight countertop containers that ferment all food waste, including meat and dairy, in 2 weeks. Electric composters ($300-$800) use heat and grinding to reduce waste volume by 90% in hours, though the output still needs soil contact to finish. Check our composting for beginners guide for more options.
Why does my compost smell bad?
Bad smells almost always mean either too much moisture (rotten egg smell) or too much nitrogen without enough carbon (ammonia smell). For rotten smells, add dry browns like shredded newspaper, cardboard, or straw and turn the pile to reintroduce oxygen. For ammonia, add more carbon-rich material and mix well. Avoid adding meat, dairy, or oily foods, which create persistent odors that adjustments alone cannot fix. A well-balanced compost pile with adequate airflow should smell like damp earth — not garbage.
How often should I turn my compost?
For hot composting, turn once every 5-7 days to maintain aerobic conditions and move outer material to the hot center. In hot or humid climates, you may need to turn 1-2 times per week since higher temperatures accelerate microbial activity and oxygen consumption, as the composting management literature recommends. Cold composters can turn monthly or not at all — the compost will still happen, just more slowly. Tumbler users should spin their unit every 2-3 days for best results. how to fix soil pH brewing liquid compost tea
Resources
- Cornell University Composting — Carbon to Nitrogen Ratios
- Cornell Composting — Compost Microorganisms
- Penn State Extension — Composting in Home Gardens
- EPA — Food: Material-Specific Data on Waste
- University of Florida IFAS — When Is Compost Ready?
- Texas A&M AgriLife Extension — Composting at Home
- Eartheasy — How to Choose the Right Composter
- RMI — Waste Methane Emissions from Landfills
indoor composting winter composting strategies
overwinter your worm bin


