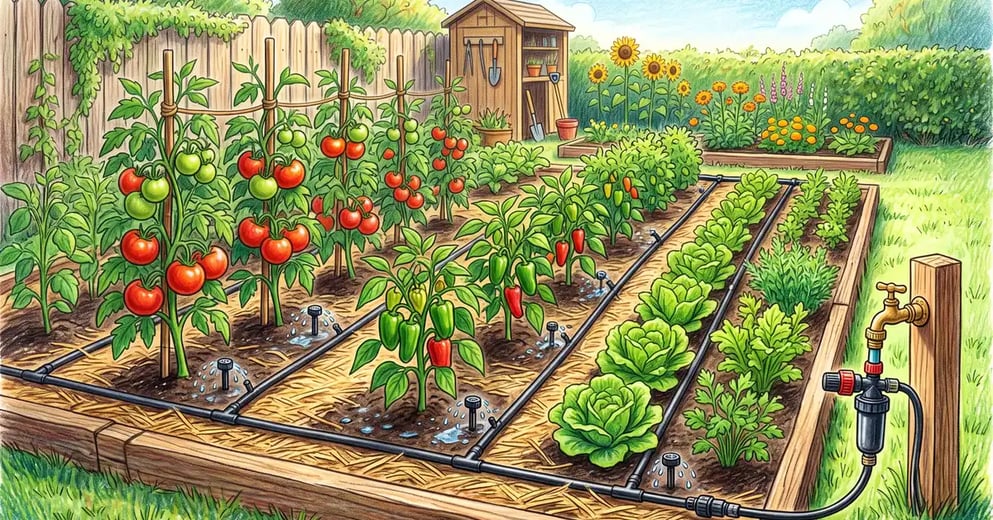

Most home drip systems fail for one of three reasons: no pressure regulator, no filter, or a run time somebody guessed at. Get those three right and a drip system will water a vegetable garden better than you can by hand, on roughly half the water, while you are at work.
This is the setup, the numbers, and the maintenance nobody mentions when they sell you the kit.
Is Drip Irrigation Actually Better for a Vegetable Garden?
On efficiency, the gap is not close. Utah State University Extension puts drip above 90 percent application efficiency against 50 to 70 percent for sprinklers. The difference is water that never reaches a root: evaporated off leaves, blown sideways by wind, or landing on the paths between beds.
The second benefit matters more in humid regions. Drip keeps foliage dry, and dry foliage means less early blight on tomatoes, less powdery and downy mildew on squash, and less bacterial spread on beans. Overhead watering splashes soil-borne spores up onto leaves; drip does not.
What you will find below:
- The four components you cannot skip, and the two you can
- Emitter spacing by soil texture, and why sand and clay need opposite answers
- How to turn "1 inch of water a week" into an actual run time
- Why systems clog, and the ten-minute maintenance that prevents it
- What a 4x8 ft bed and a 400 sq ft garden really cost to kit out
Key Takeaway
A working home system needs a backflow preventer, a filter, a pressure regulator and a timer, in that order from the tap. Skip the filter or the regulator and the system will either clog or blow its fittings apart, usually within one season.
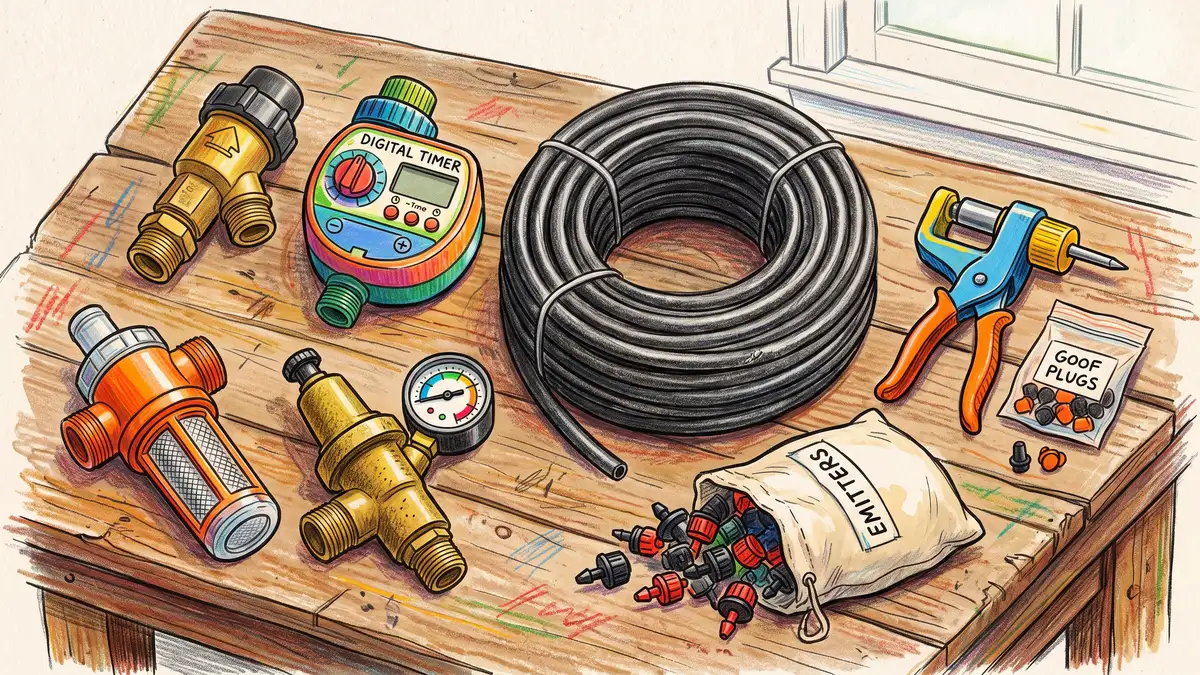
What Do You Need to Set Up Drip Irrigation?
Household water arrives at 40 to 80 psi. Drip components are designed for 10 to 30 psi. Colorado State University Extension is blunt about the consequences: without a regulator, fittings pop off and emitters over-deliver. Add roughly 5 psi for every 10 ft (3 m) the garden sits above the tap.
Backflow preventer at the tap
Goes on first, straight onto the hose bib. It stops garden water siphoning back into the household supply. Many municipalities require one, and it costs under $10.
Filter next, then regulator
A 150 to 200 mesh screen filter catches the sediment that blocks emitters. A Y-pattern or T-pattern filter is worth the extra dollar because you can rinse it without dismantling the line. The pressure regulator goes after it.
Half-inch mainline into the garden
Run 1/2 in. poly tubing along the head of the beds. Keep total run under about 200 ft (60 m) per zone, or pressure drops off at the far end and the last emitters starve.
Laterals into each bed
Punch the mainline and run 1/4 in. tubing or drip line into the bed. On a 4 ft (1.2 m) wide raised bed, run three to four parallel lines so the wetted zones overlap across the whole bed.
Battery timer last
The cheapest component that pays for itself. A basic hose-bib timer removes the two failure modes of hand watering: forgetting, and going away.
Why This Works: Water Is a Yield
Permaculture treats water as something you catch, store, and release slowly rather than something you buy and spray. Drip is the release end of that chain. It becomes far more interesting when the supply end is rainwater: a tank, gravity-fed, feeding drip line through a filter is a closed loop that runs on roof catchment rather than mains pressure. Swales and berms do the same job at landscape scale.
How Far Apart Should Drip Emitters Be?
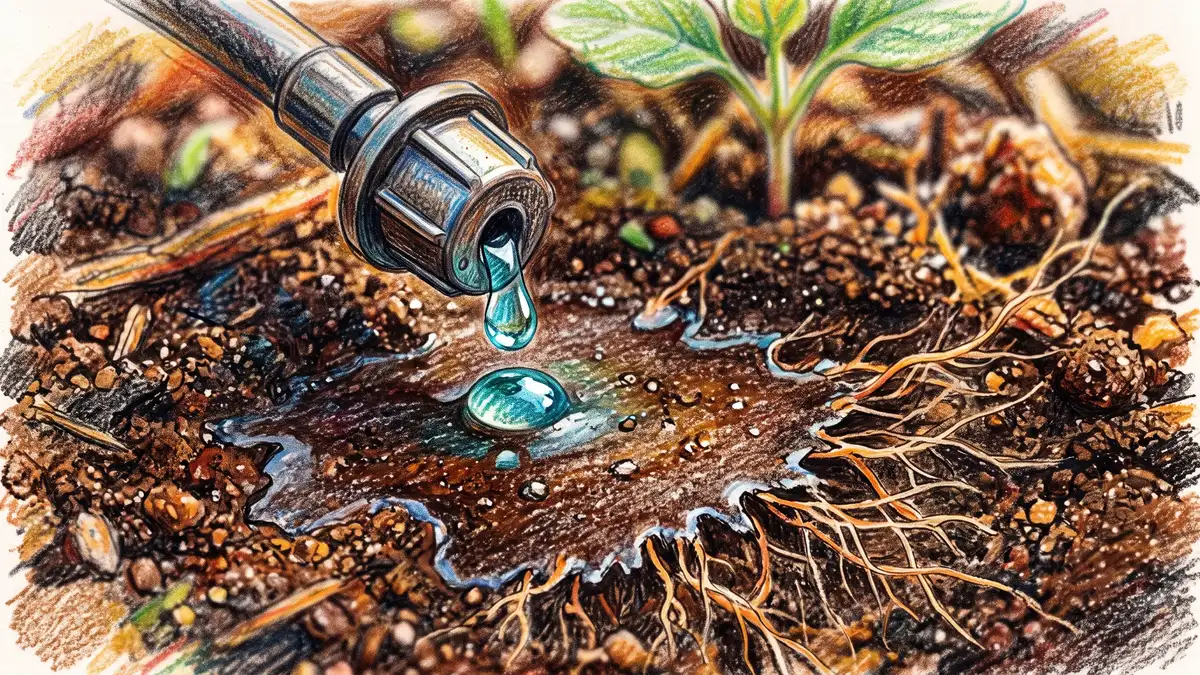
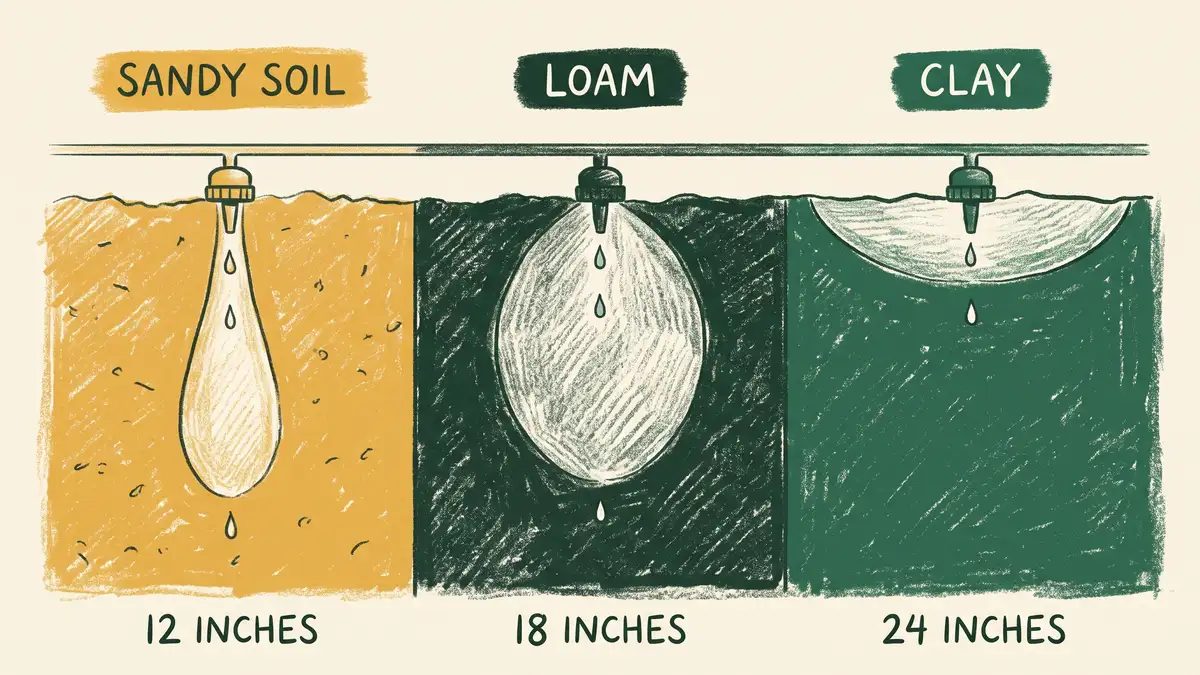
It depends entirely on soil texture, and sand and clay want opposite answers. Water in sand drops almost straight down with little sideways spread, so emitters have to be close together or you get narrow dry columns between them. Clay holds water in fine pores and spreads it sideways, so the same coverage needs fewer, wider-spaced emitters.
| Soil | Emitter Spacing | Emitter Flow | Watering Pattern |
| Sandy | 12 in. (30 cm) | 1 to 2 gph | Shorter runs, more often |
| Loam | 18 in. (45 cm) | 1 gph | Middle ground on both |
| Clay | 24 in. (60 cm) | 0.5 gph | Longer runs, less often |
| Close-planted rows | 4 to 6 in. (10 to 15 cm) | Drip tape | Carrots, onions, salad blocks |
Sources: Colorado State University Extension, Utah State University Extension, Iowa State University Extension
Dig a small hole beside a line after an hour of running. If the wet zone is narrow and deep, tighten your spacing. If it has spread wide and shallow, you can open it up. That one check beats any table.
How Long Should You Run Drip Irrigation?
The standard guideline is 1 in. (2.5 cm) of water per week for a vegetable garden. The conversion that turns that into minutes is straightforward: it takes 0.62 gallons to put 1 in. of water on 1 sq ft of ground.
So a 4x8 ft bed is 32 sq ft, needing about 20 gallons a week. Four lines with emitters every 12 in. at 1 gph gives roughly 32 emitters delivering 32 gallons per hour, so about 40 minutes a week, split across two or three sessions. In practice most home setups with hose-end regulators need 10 to 20 minutes per session, which lines up.
| Situation | Frequency | Adjustment |
| Raised bed, summer | 3 to 4 times a week | Beds dry faster; shorter, more frequent runs |
| In-ground, summer | 2 times a week | Deeper reservoir; longer runs, less often |
| Seedlings and transplants | Daily, brief | Shallow roots cannot reach the wetted zone yet |
| Fruiting tomatoes and squash | Steady, no gaps | Erratic water causes blossom end rot and splitting |
| Spring and autumn | Halve summer runs | Lower evaporative demand |
Sources: Utah State University Extension water recommendations for vegetables, CSU GardenNotes 714, Irrigating the Vegetable Garden
Two rules override the arithmetic. Stop before water ponds or runs off the surface, because everything after that point is waste. And if you find yourself running the system more than a few hours a day, add emitters rather than extending the time.
Why Drip Systems Clog, and How to Stop It
Clogging is the reason most home systems get abandoned in year two. There are three causes and each has a cheap fix.
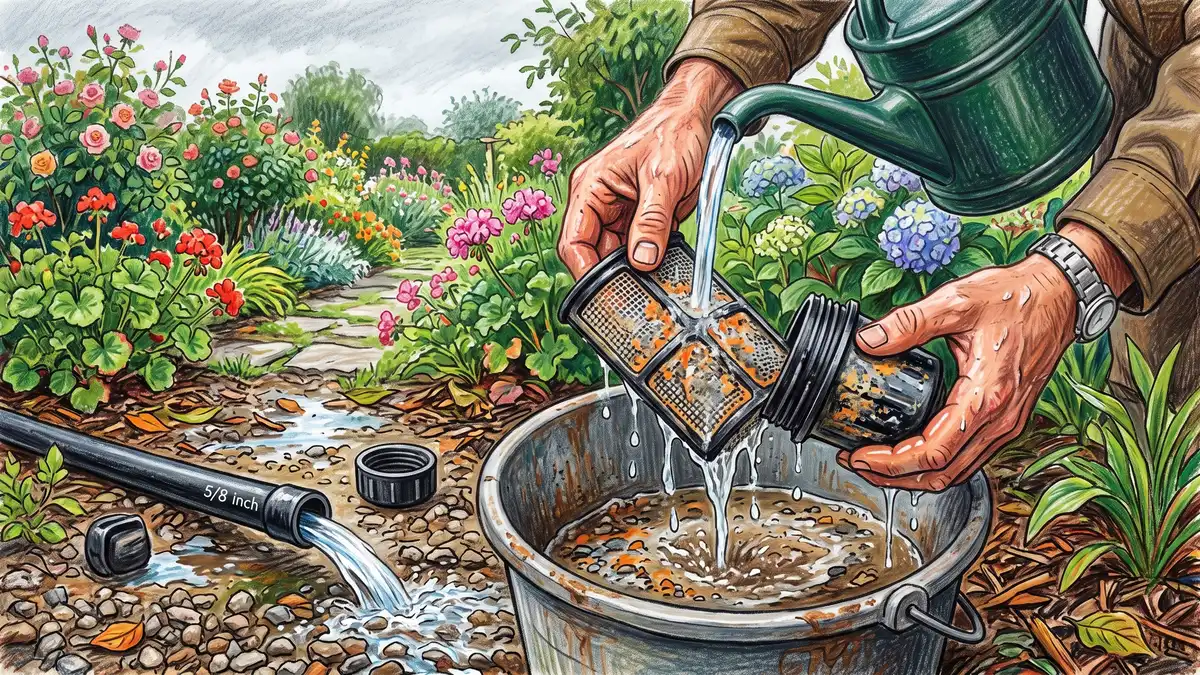
Sediment is what the filter is for, and a filter only works if you rinse it. Once a month in the growing season, unscrew the screen, rinse it, put it back. Mineral scale builds where hard water evaporates at the emitter mouth. Biofilm is algae and bacteria growing inside the line, worst in clear or light-coloured tubing left in the sun. Use black tubing and it barely happens.
Common Mistake to Avoid
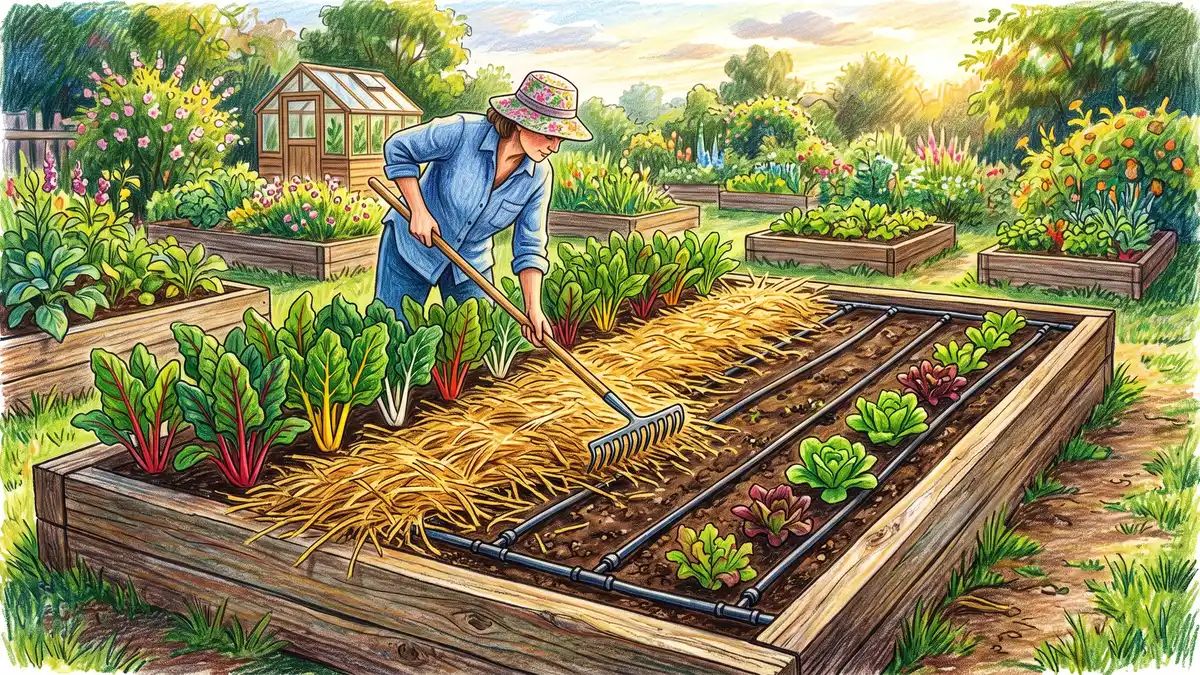
Never bury drip line under soil and forget it. Buried lines invite root intrusion into the emitters and you cannot see a blocked one until the plants above it wilt. Lay the line on the soil surface and put mulch over the top instead. That gives you the evaporation benefit without losing access, and mulch over drip is the single best combination for a hot, dry site.
Flush the lines twice a season. Open the end caps, run the system for a minute, let the sediment blow out, cap them again. In freezing climates, drain everything before the first hard frost and bring the timer, filter and regulator indoors. University of Arizona Extension covers the arid-climate version of this, where salt accumulation at the edge of the wetted zone is the bigger seasonal problem.
Key Takeaway
Budget around $40 to $70 for a single 4x8 ft bed and $150 to $250 for a 400 sq ft garden, including the head assembly. Rinse the filter monthly, flush the lines twice a season, and the system will run for years.
Frequently Asked Questions
How long should I run drip irrigation for vegetables?
Work from the 1 in. per week target. It takes 0.62 gallons to apply 1 in. of water to 1 sq ft, so a 4x8 ft bed needs about 20 gallons a week. Count your emitters, multiply by their flow rate in gallons per hour, and divide. Most home setups land at 10 to 20 minutes per session, two or three sessions a week in summer. Adjust downward in spring and autumn, and stop any run as soon as water starts pooling on the surface.
Do I need a pressure regulator for drip irrigation?
Yes. Household supply typically runs 40 to 80 psi and drip components are designed for 10 to 30 psi. Without a regulator, barbed fittings blow off under pressure, emitters deliver far more than their rated flow, and thin-wall tubing splits. A hose-thread regulator costs around $10 and screws on between the filter and the mainline. If your garden sits uphill of the tap, add about 5 psi to the working pressure for every 10 ft of rise.
Should drip line go above or below mulch?
Above the soil and below the mulch. That position gets you both benefits: the mulch shades the line and cuts evaporation from the wetted surface, while the line stays accessible for inspection and flushing. Burying drip line in the soil invites root intrusion into emitters, and you will not spot a blockage until plants start wilting. It also makes spring bed preparation much harder, since you cannot fork over a bed with tubing hidden in it.
Is drip irrigation worth it for a small garden?
For a couple of containers, no. For anything from one raised bed upward, usually yes, and the payoff is more about consistency than about the water bill. Steady soil moisture prevents blossom end rot in tomatoes, splitting in carrots and root crops, and bolting in lettuce, all of which are irregular-watering problems. It also means a week away in July does not cost you the season. If you want the no-plumbing version, a wicking bed solves the same problem differently.
Can I use drip irrigation with rainwater?
Yes, with two adjustments. Rainwater carries more organic debris than mains water, so you need better filtration, typically a coarse pre-filter at the tank plus the standard 150 to 200 mesh screen. And a gravity-fed tank produces low pressure, roughly 0.43 psi per foot of height, so you need either a tank raised several feet or a small pump, plus emitters rated for low pressure. Fruit trees are more forgiving of low pressure than vegetables, which is why food forest drip systems often run straight off a tank. It is also the setup that makes drip fit properly into permaculture design rather than sitting outside it.
Get the Weekly Dig
One practical permaculture guide a week, written for gardeners who do this on weekends: permaculture design for real backyards. Free, no spam, unsubscribe any time.
Join the Weekly DigResources
- Colorado State University Extension: Drip irrigation for home gardens
- CSU GardenNotes 714: Irrigating the vegetable garden
- CSU GardenNotes 264: Irrigation equipment
- Utah State University Extension: The do-it-yourself guide to backyard drip irrigation
- Utah State University Extension: Water recommendations for vegetables
- Iowa State University Extension: Using drip irrigation in the garden
- University of Arizona Extension: The basics of drip irrigation
- University of Arizona Extension: Seasonal maintenance for drip and sprinkler systems