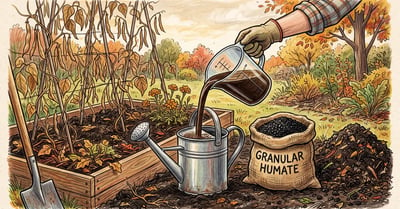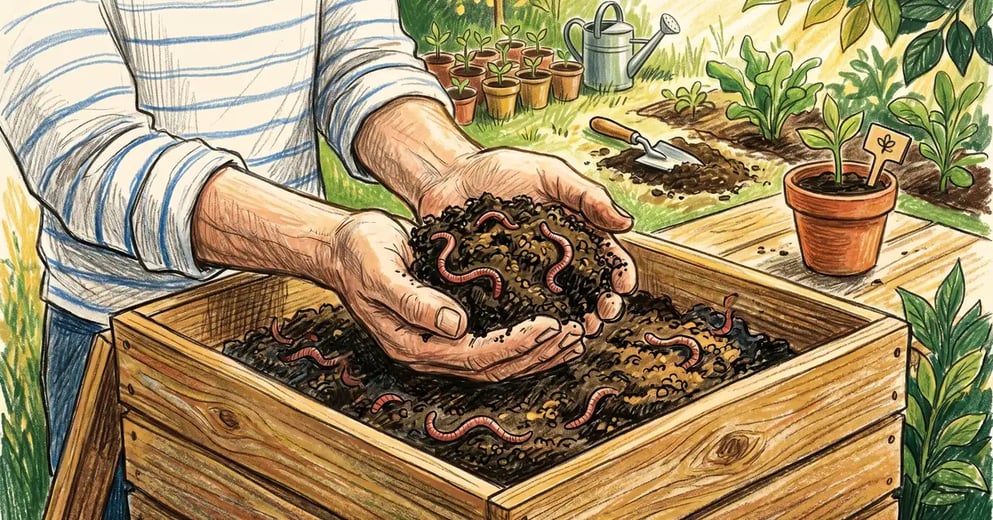

You opened the worm bin you started 5 months ago and saw mostly dark crumbly stuff with worms still wriggling through it. That dark stuff is liquid gold for your garden: worm castings sell for $1.50 to $2.25 per pound at any garden center, and you just grew several pounds for free. The only step left is separating the castings from the worms without losing your breeding population. castings delivered straight to the root zone
This guide walks through the 4 proven harvest methods, ranked by how much time, money, and patience each one takes, with US home gardener applications for each.
Key Takeaway
Worm castings are ready to harvest when 75% of your bin looks like dark crumbly coffee grounds, typically 3 to 6 months after setup. Four methods work: light migration (cheap, 1-2 hours, messy), lateral push (free, 4-6 weeks, hands-off), stacked tray system (clean but needs $120-$400 in equipment), or screen sift (fastest at 15-30 minutes, needs a $15 to $40 frame). Start with light migration on a single-tote bin; upgrade to stacked trays if you compost long-term.
What worm castings are and why they matter
Worm castings (also called vermicast or vermicompost) are the digested waste of earthworms, specifically the red wiggler (Eisenia fetida) species used in home worm bins. LSU AgCenter documents a typical NPK ratio between 1-0-0 and 5-5-3, but the real value is microbial: a gram of finished castings holds 100 to 500 million beneficial bacteria, 5 to 10 times more than the original food scraps and bedding.
For deeper context on what they do for plants, see our worm castings as natural fertilizer guide. For the full bin setup before harvest, see worm composting for beginners. For broader composting context, see our composting for beginners guide and the soil health guide.
How to know your castings are ready
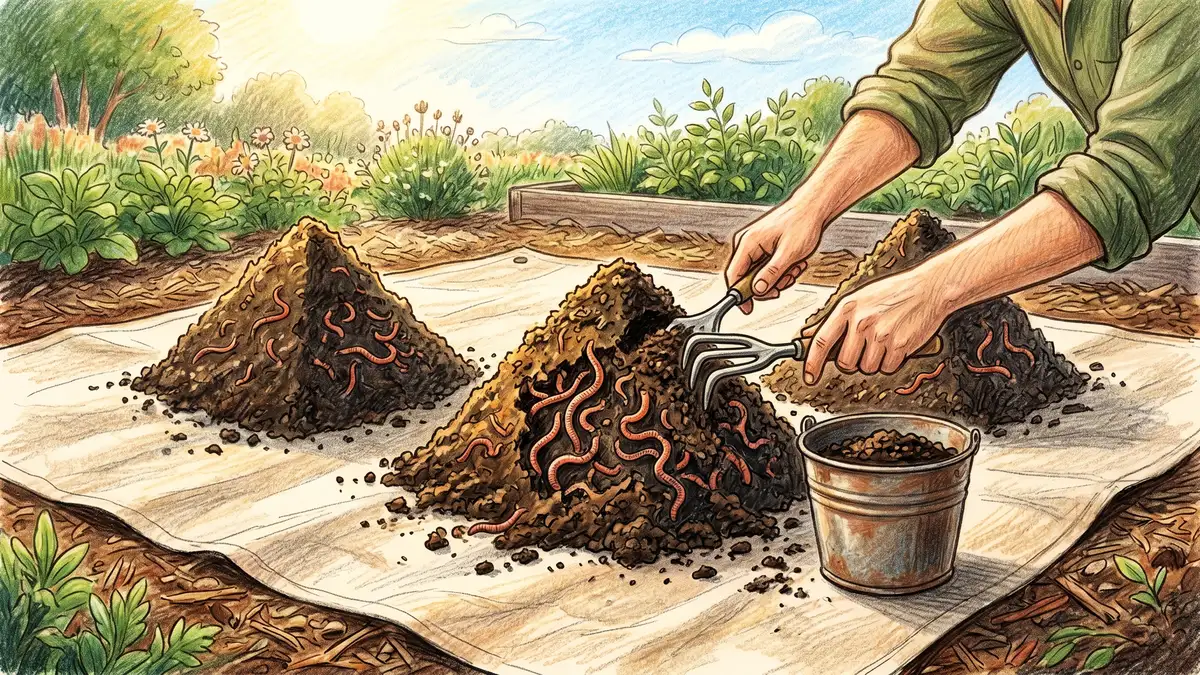
Three signs a worm bin is ready to harvest, summarised from Worm Composting HQ and the Santa Cruz County composting guide:
- 75 percent or more of the bin looks like dark coffee grounds. Spread a handful on a white plate. Count the proportion of finished dark granular material versus visible cardboard, food scraps, or bedding chunks.
- You no longer see the original bedding. Shredded newspaper, cardboard, and coconut coir should all be visually broken down.
- Worms are concentrated in the upper 2 to 3 inches where you still have fresh food. The lower layers should be relatively worm-free.
If any of these are not true yet, wait 2 to 4 more weeks and re-check. Premature harvesting wastes worms (they get scooped out with unfinished bedding) and produces castings that lock up nitrogen in the soil instead of releasing it.
Why This Works: Worm Behavior Does the Sorting
Every harvest method below exploits 1 of 2 worm behaviors: red wigglers hate light (they burrow away from it) and red wigglers love fresh food (they migrate toward it). The 4 methods are just different ways of using these two reflexes to separate worms from finished castings without manually picking each worm out by hand. Pick the method that fits your time, budget, and tolerance for mess.
Method 1: Light migration (best free method for tote bins)
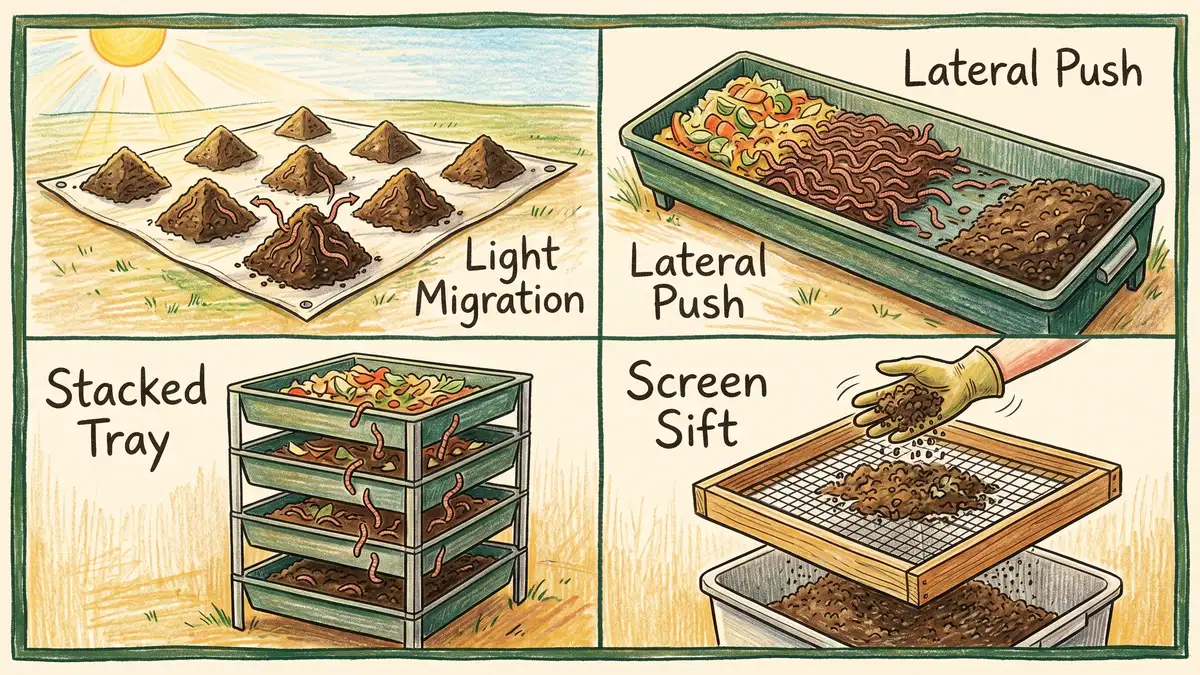
The classic backyard method. WormBucket and Uncle Jim's Worm Farm both document this as the default for first-time harvesters.
Spread a tarp in bright light
White or light-coloured tarp works best (contrast helps you see worms). Direct sunlight, or a 60 to 100 watt work lamp 18 inches above the surface. Best ambient temperature: 60 to 75 F.
Dump bin contents into 6 to 8 small pyramids
Each pyramid roughly 6 inches across and 4 inches tall. Leave space between them so worms cannot crawl pyramid to pyramid.
Wait 15 to 20 minutes, then scrape the top 1 to 1.5 inches
Worms burrow down to escape the light. The top of each pyramid is now mostly pure castings. Scrape into a bucket with a trowel or stiff card.
Repeat 4 to 5 times
Each round, the pyramids shrink and the remaining worms concentrate in tighter cores. After 60 to 90 minutes total, you are left with a small worm ball per pyramid. Combine all the worm balls into fresh bedding back in the bin.
Pros: Costs nothing extra. Gets clean castings on the first round. Lets you confirm worm population health.
Cons: Messy. Requires 1 to 2 hours of active time. Worms get exposed to light (stressful; complete within 75 to 90 minutes to keep stress low).
Best for: Single-tote DIY bins and first-time harvesters.
Method 2: Lateral migration (hands-off, takes 4-6 weeks)
The most passive method. UCSB's worm program details the technique. You stop feeding one side of the bin and feed only the other side. Worms walk to the food. After 4 to 6 weeks the abandoned side is mostly worm-free castings.
Stop feeding one side for 10 to 14 days
Let the worms finish processing the existing food in that section. This is the "starve" phase.
Pile fresh food and bedding on the opposite side
Add 1 to 2 inches of fresh food per week. Worms detect the new food via chemoreceptors in their prostomium and begin migrating within 24 to 48 hours.
Wait 14 to 21 days for 85 to 95 percent of worms to relocate
Check the harvest side weekly. When you can dig 6 inches and see fewer than 5 worms per cup of material, you are ready.
Scoop out the harvest side
The remaining 5 to 15 percent of worms still in this section can be hand-picked back into the feeding side, or left in the harvested castings (they will be returned via the cocoon waiting period below).
Pros: No equipment cost. Almost no active labour. Worms are not stressed by light or handling.
Cons: 4 to 6 weeks total cycle. Some worms always stay behind. Requires a bin with at least 1 square foot of surface area.
Best for: Larger DIY bins or anyone who hates the light method mess.
Method 3: Stacked tray system (cleanest method, needs equipment)
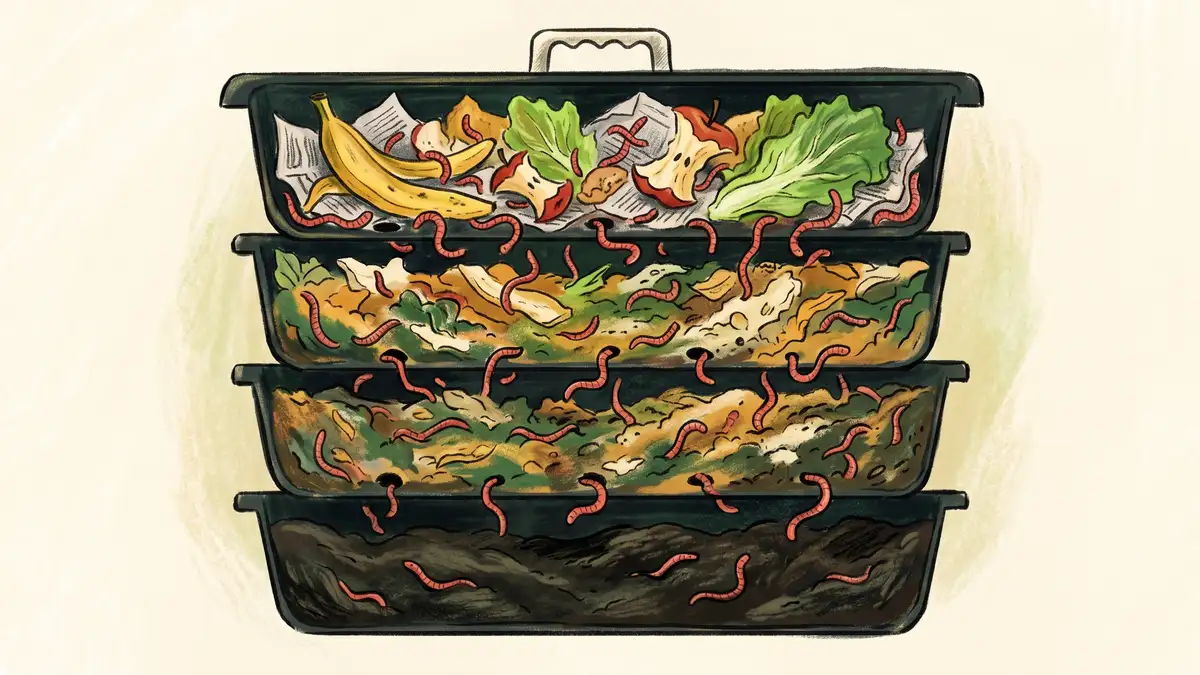
The premium option. Stacked tray composters (Worm Factory 360, Urbalive Worm Composter, Hungry Bin) are designed so worms migrate upward through tray holes toward fresh food, leaving pure castings in the bottom tray ready for harvest. Urban Worm Company's vermicomposting guide covers the science.
How it works:
- You stack 3 to 5 trays. The bottom tray is the oldest; the top tray is fresh.
- When the top tray is half-full of food, you add a new empty tray above it with fresh bedding and food.
- Worms migrate upward through holes in each tray bottom toward the newest food source.
- After 3 to 4 weeks, the bottom tray is 90 percent worm-free castings. Pull it out, harvest, and recycle it to the top.
| System | Cost (2026 US) | Capacity | Notes |
| Worm Factory 360 | $120-$150 | Up to 4 trays, ~6 lbs scraps/week | Most popular US system; 4 stacking trays |
| Urbalive Worm Composter | $250-$320 | 2-3 trays, modern design | Furniture-grade looks for indoor indoor apartment worm bins use |
| Hungry Bin | $380-$450 | Up to 4 lbs scraps/day | Continuous gravity-flow; castings drop out the bottom drawer |
| DIY stacked totes | $15-$25 | 2-3 nesting plastic totes | Drill 1/4 inch holes in tote bottoms; functional but uglier |
Sources:
Pros: Continuous harvest (you do not pause feeding). 95 percent worm-free castings. Almost no manual picking.
Cons: Upfront cost. Requires consistent feeding rhythm.
Best for: Long-term composters and anyone harvesting more than 2 lbs of castings per month.
Need the gear for this?
The bins that work, the ones that leak, and a DIY build that costs under $30.
Compare worm bin setupsMethod 4: Screen sift (fastest, needs a frame)
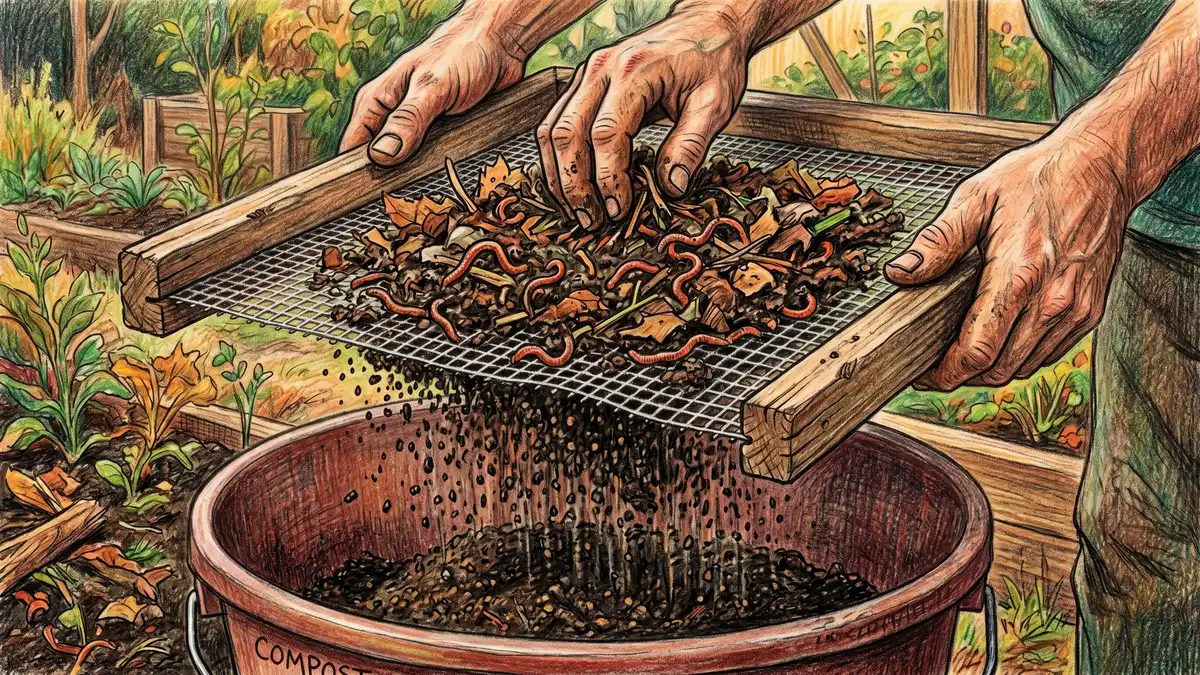
The pro method when you need to harvest fast. Build a simple wooden frame, staple 1/4 inch hardware cloth across the bottom, set it over a wheelbarrow or bucket, and shake compost through it. Fine castings fall through, worms and chunks stay on top.
Build a screen frame: 4 pieces of 1x2 lumber cut to 12 by 18 inches (or any size that fits over your bucket), screwed at the corners. Staple 1/4 inch galvanised hardware cloth (about $8 to $12 per 3 ft roll at hardware stores) across one face. Total cost: $15 to $40 depending on what scraps you have. Lasts forever.
Process:
- Set the screen over a 5-gallon bucket or wheelbarrow.
- Scoop 1 to 2 cups of bin contents onto the screen at a time.
- Shake gently with side-to-side motion. Castings fall through; worms and large pieces stay on top.
- Tip the worms and chunks into a holding container with damp bedding.
- Return the worms (and any unfinished material) to the bin with fresh food.
Pros: Fastest method (15 to 30 minutes for a small bin). Cleanest castings. Reusable for years.
Cons: Worms can dry out if you shake too long or under direct sun. Build or buy the frame first.
Best for: Gardeners harvesting multiple bins or large batches.
Which method is right for you?
| Method | Time | Cost | Worm welfare | Best for |
| 1. Light migration | 1-2 hours active | Free | Moderate stress | First-time harvest, single tote bin |
| 2. Lateral migration | 4-6 weeks passive | Free | Minimal stress | Hands-off larger bins |
| 3. Stacked tray | 3-4 weeks passive | $120-$450 upfront | Minimal stress | Long-term, regular harvests |
| 4. Screen sift | 15-30 min active | $15-$40 for frame | Some stress (handling) | Speed, multiple bins |
Source comparison synthesised from
The cocoon waiting period: do not skip this
After any method, scoop the harvested castings into a separate breathable container (mesh bag or open bucket) and let it sit in a shaded spot at 60 to 75 F for 2 to 3 weeks. Worm cocoons (small amber lemon-shaped eggs) you missed will hatch during this period. The baby worms wriggle to the surface; pick them up and return them to the bin. This protects your breeding population and prevents wasted worms when you apply castings to garden beds.
Cocoons look like translucent amber rice grains, about 1/8 inch long. Each contains 2 to 6 baby worms and hatches in 11 to 16 weeks at room temperature.
How to store and use finished castings
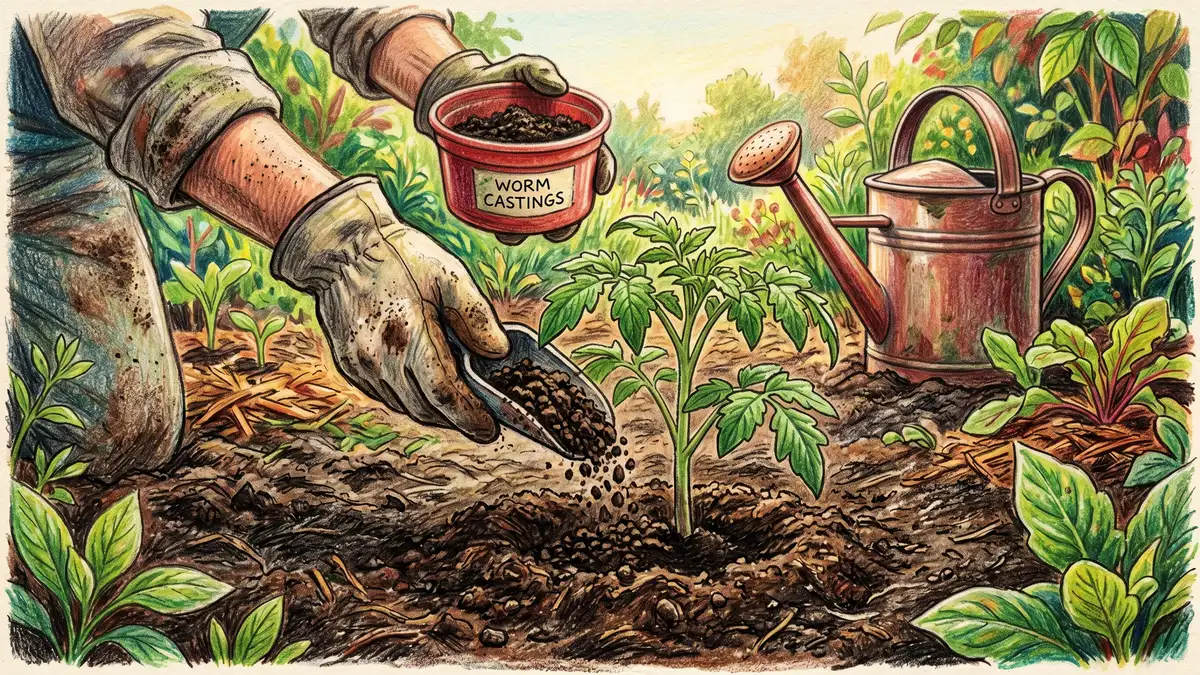
Storage: Breathable container (burlap sack, paper bag, or bucket with holes). 40 to 60 percent moisture (damp but not dripping). 50 to 75 F. Viability stays high for 6 months; microbe counts decline beyond that. Do not seal in plastic (anaerobic, kills microbes). Do not let them dry out below 30 percent moisture (kills microbes within days).
Application rates:
- Container plants: 1/4 to 1 cup mixed into top 2 inches of soil at transplant.
- Garden bed transplants: 1 to 2 quarts mixed into the planting hole.
- Existing beds: Top-dress with 1/4 inch layer once per growing season.
- Seedling mix: 10 to 20 percent castings by volume mixed with potting mix.
- Worm casting tea: 1 cup castings steeped in 5 gallons water for 24 hours. Strain. Use as foliar feed or soil drench.
Worm castings cannot burn plants even at high rates because the nitrogen is slow-release. Urban Worm Company documents tomato and pepper trials using castings at 50 percent of mix with no toxicity.
Common harvest mistakes
5 Mistakes That Waste Worms or Castings
Each mistake below either kills worms, damages castings, or both. Most are easy to avoid once you know what to watch for.
- Harvesting too early. Castings with visible unfinished bedding will lock up nitrogen in your soil. Wait until 75 percent of the bin looks like coffee grounds.
- Letting castings dry out below 30 percent moisture. Microbes die within days. Spritz lightly to keep castings damp during and after harvest.
- Exposing castings to direct sun. UV kills beneficial bacteria within hours. Work in shade or indoors.
- Skipping the cocoon waiting period. You lose hundreds of future worms when their eggs end up in your garden bed.
- Storing castings in sealed plastic. Anaerobic conditions kill aerobic microbes, the very thing castings are valuable for. Use breathable containers.
FAQ
How often should I harvest worm castings?
For a single-tote bin: every 3 to 6 months. For a stacked tray system: continuously, with one tray pulled every 3 to 4 weeks. A 2x2 ft bin with 1 lb of red wigglers produces 0.75 to 1.5 cups (1/2 to 1 lb) of finished castings per week at steady state, totaling 5 to 10 lbs per harvest cycle.
How do I harvest worms from a worm bin without losing them?
Use the lateral migration method (4 to 6 weeks passive) for the lowest worm stress, or use the cocoon waiting period after any method. Both ensure you keep your breeding population intact. Light migration recovers 92 to 97 percent of worms if you complete the process within 75 to 90 minutes.
What are worm castings?
Worm castings are the digested waste of earthworms, specifically red wigglers in home worm bins. stacking worm bins that make harvesting easy They look like dark crumbly coffee grounds and contain 100 to 500 million beneficial bacteria per gram, plus plant growth hormones (auxins, gibberellins) and slow-release nitrogen, phosphorus, and potassium. NPK ratio typically 1-0-0 to 2-1-1.
How to use worm castings for tomatoes?
Mix 1 to 2 quarts of castings into the planting hole when transplanting. Top-dress with another 1/4 cup around the base each month during the growing season. Brew worm casting tea (1 cup castings in 5 gallons water, steep 24 hours) and use as a weekly foliar spray to suppress fungal diseases.
How to use worm castings in potted plants?
Mix 10 to 20 percent castings into the potting soil by volume. For established containers, top-dress with 1/4 to 1 cup castings every 2 months and water in. Castings cannot burn even at higher rates, but the diminishing returns make 10 to 20 percent the practical sweet spot.
How long does it take to make worm castings?
3 to 6 months from setting up a new bin, depending on temperature, moisture, food balance, and worm population density. Bins kept at 60 to 75 F with proper food and moisture can finish in 4 months. Bins in unheated garages or with smaller populations can take 6 to 9 months.
What is the difference between worm castings and regular compost?
Worm castings are digested by earthworms, so the microbial population is 5 to 10 times higher than regular compost made by thermophilic bacteria alone. Castings contain measurable plant growth hormones (auxins, gibberellins, cytokinins) that regular compost lacks. They also have a finer texture and more immediate plant availability. Regular compost is better for bulk soil-building (cheaper, more volume); castings are better as a targeted amendment.
Get the Weekly Dig
One practical permaculture guide a week, written for gardeners who do this on weekends: composting that actually finishes and soil that feeds itself. Free, no spam, unsubscribe any time.
Join the Weekly DigResources
- LSU AgCenter: Composting Series Worm Castings
- Worm Composting HQ: How to Harvest Worm Compost
- WormBucket: The Light Method
- Santa Cruz County Public Works: Harvesting Worm Compost
- UCSB Department of Public Worms: Vermicomposting Harvesting
- Urban Worm Company: Vermicomposting Guide
- Urban Worm Company: Worm Castings 101
- Uncle Jim's Worm Farm: Harvesting Worm Castings
- Worm People: Harvesting Black Gold
- Mind and Soil: Worm Castings 101