

You have a stack of empty Amazon boxes piling up in the garage. You also have a patch of weedy lawn you want to convert to a vegetable bed. These two problems solve each other.
Cardboard mulch is the cheapest, fastest, and most extension-validated way to kill weeds, smother grass, and build new garden beds in a US backyard. A 4 ft by 8 ft (1.2 m by 2.4 m) area of lawn turns into a planting-ready garden bed in 6 to 12 weeks under cardboard plus wood chips, at a cost of $0 in materials if you save your own delivery boxes.
This guide explains what cardboard mulch is, how it suppresses weeds, which cardboard is safe for the garden and which to avoid, the 6-step sheet mulching method, what to do about PFAS and inks, and the 5 mistakes that turn a free weed barrier into a problem.
The short answer
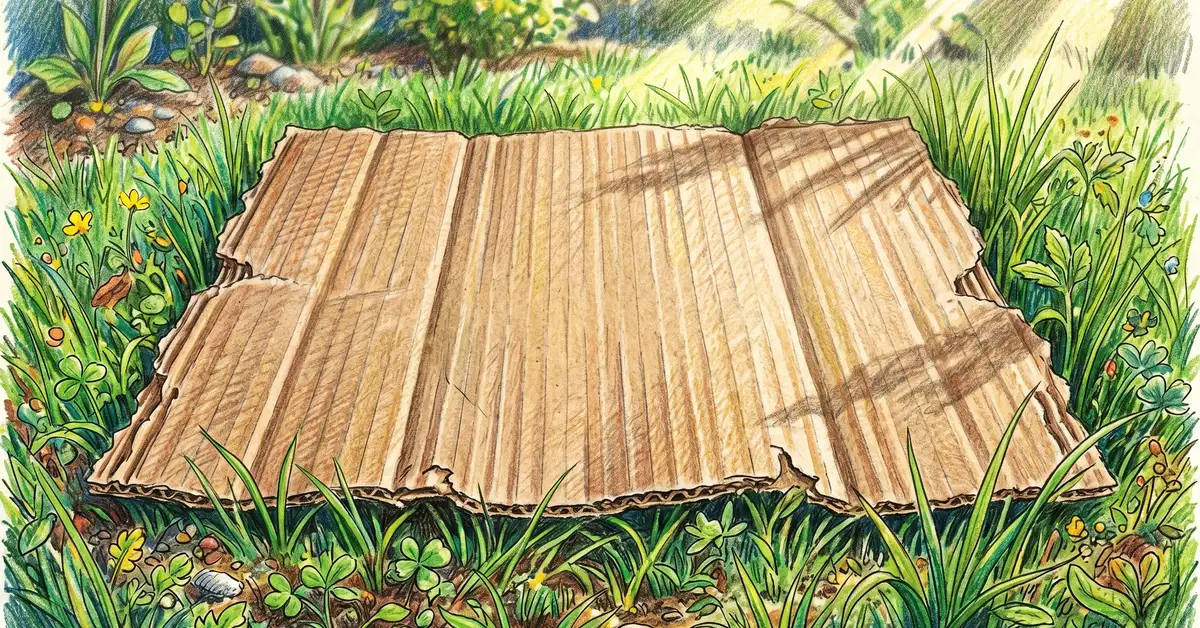
Cardboard mulch (also called sheet mulching or lasagna gardening) is plain brown corrugated cardboard laid over weedy ground and topped with 4 to 6 inches (10 to 15 cm) of compost, straw, or wood chips. The cardboard smothers existing vegetation and decomposes into the soil over 6 to 12 months. Use only unprinted brown cardboard, remove all tape and plastic labels, overlap seams by 4 to 6 inches (10 to 15 cm), and wet thoroughly before topping with mulch.
What cardboard mulch is and why it works
Cardboard mulch is corrugated paper packaging used as a temporary weed barrier in garden beds, paths, and landscape conversions. The technique is part of a broader practice known as sheet mulching or lasagna gardening. Oregon State University Extension's sheet mulching guide (EM 9559) documents the method and confirms its effectiveness for weed suppression in landscape conversions and vegetable garden establishment.
The mechanism is straightforward. Cardboard blocks sunlight from reaching weeds, prevents photosynthesis, and traps moisture against the soil surface. Within 4 to 8 weeks, annual weeds like crabgrass and lambsquarters die back. Perennials like quackgrass, dandelion, and Canada thistle take 8 to 16 weeks because their root reserves outlast the average cardboard layer.
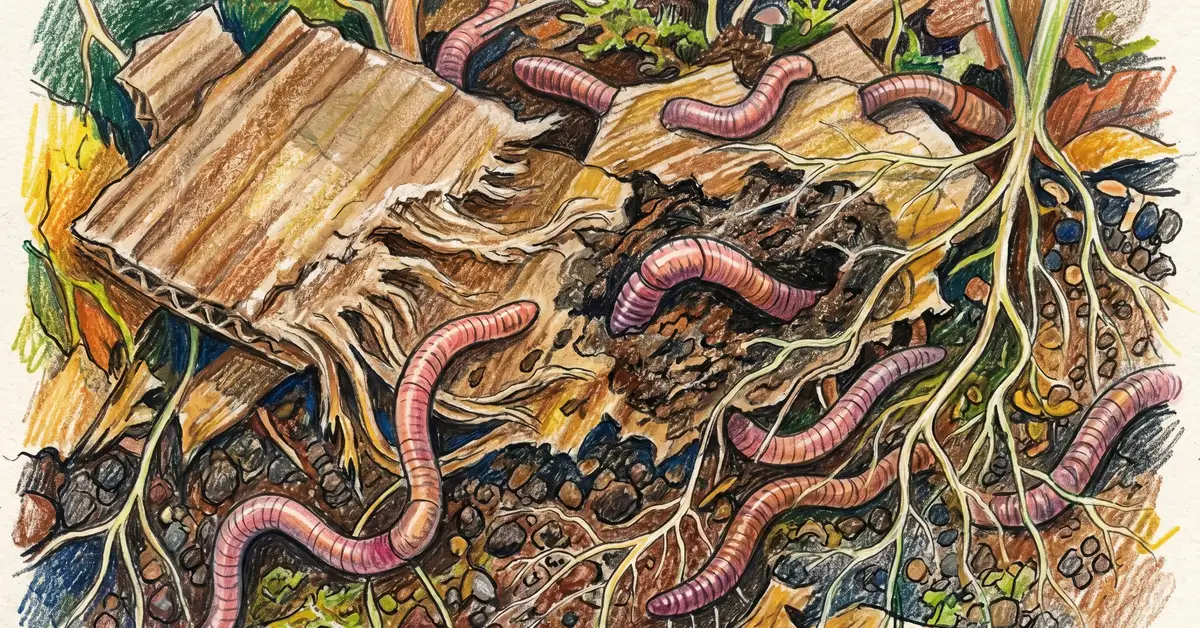
While the weeds are dying, the cardboard itself becomes food for soil biology. Earthworms, fungi, and bacteria break down the cellulose at the cardboard/soil interface, leaving rich organic matter behind. Texas A&M AgriLife's cardboard weed barrier article describes the dual function: the cardboard does the immediate job of weed suppression, and the decomposition phase enriches the underlying soil with organic carbon.
Which cardboard is safe for the garden
Use: Plain brown corrugated cardboard (shipping boxes, appliance boxes, moving boxes). Boxes labeled with water-based soy ink. Paper-based packing tape. Tan kraft paper. Most US shipping boxes from Amazon, Costco, Home Depot, U-Line, and grocery stores fit this category.
Avoid: Glossy or laminated cardboard (cereal boxes, gift boxes, color-printed display boxes). Wax-coated produce boxes from grocery wholesalers. Boxes with heavy plastic or vinyl tape that you cannot easily strip off. Boxes that smell strongly of chemicals or perfumes.
The UC ANR sheet mulching dos and don'ts article recommends large unbroken sheets without printing. The unprinted side faces down toward the soil to prevent any residual inks from contacting roots directly.
On PFAS (per- and polyfluoroalkyl substances): some food-contact cardboard contained PFAS coatings in the past, particularly fast-food packaging and pizza boxes. As of 2024 most major US retailers have phased these out following FDA voluntary guidance. Clemson HGIC's benefits and drawbacks analysis concludes that for non-food-contact corrugated shipping boxes the PFAS risk is minimal, though gardeners growing certified organic produce should source virgin uncoated cardboard if available.
The standard sheet mulching method, step by step
Mow or cut existing vegetation short
Run a mower over the area at the lowest height. Pull any large woody weeds by the root. You do not need to remove the grass clippings or short weed material; the cardboard will smother and compost them in place.
Water the area thoroughly
Soak the soil to about 2 inches (5 cm) depth before laying the cardboard. Moist soil accelerates cardboard decomposition and gives soil microbes a head start on the breakdown process.
Strip and flatten the cardboard
Cut along the seam of each box and unfold into one large flat sheet. Remove all packing tape, plastic shipping labels, staples, and stickers. Bigger pieces work better than small scraps because they leave fewer gaps.
Lay 2 layers with 4 to 6 inch (10 to 15 cm) overlap
Place the first layer flat. Overlap each sheet by 4 to 6 inches at every seam. Add a second layer perpendicular to the first to cover any small gaps from the first pass. Two layers is the standard; three layers is acceptable for stubborn perennial weeds like bindweed or quackgrass.
Wet the cardboard thoroughly
Run a hose over the entire area until the cardboard is saturated. Wet cardboard conforms to the soil contours, stays in place in wind, and starts decomposing immediately.
Top with 4 to 6 inches (10 to 15 cm) of mulch
Spread compost, straw, leaves, or wood chips over the cardboard. The mulch holds the cardboard down, hides it visually, retains moisture, and adds organic matter as it breaks down. For vegetable beds use compost or composted manure. For pathways and around fruit trees use wood chips. For perennial flower beds use a mix.
The full lasagna garden version (compost in the middle)
If you have access to compost and want to plant the same season you sheet mulch, build a deeper lasagna garden:
| Layer (bottom to top) | Depth | Material | Purpose |
| 1. Cardboard base | 2 layers | Plain brown corrugated, overlapped | Smother existing weeds and grass |
| 2. Manure or rich compost | 2 to 4 inches (5 to 10 cm) | Composted manure, finished compost | Nitrogen-rich feeder layer for roots |
| 3. Brown organic matter | 4 to 6 inches (10 to 15 cm) | Straw, fall leaves, shredded paper | Carbon layer, holds moisture |
| 4. Green organic matter | 2 to 4 inches (5 to 10 cm) | Grass clippings, kitchen scraps, green plant cuttings | Nitrogen layer, feeds microbes |
| 5. Finishing topsoil or compost | 2 to 3 inches (5 to 8 cm) | Bagged topsoil or screened compost | Planting surface ready for seeds and transplants |
Sources:.
A lasagna garden built in fall is ready to plant directly into the topsoil layer the following spring. A spring-built lasagna garden ready for planting needs a 2 to 4 week settling period and works best for transplants rather than direct-seeded crops.
Why this works (the permaculture lens)
Conventional lawn-to-garden conversion uses a rototiller. Tilling pulverizes the existing soil structure, brings buried weed seeds to the surface, and depletes organic matter. Cardboard mulching does the opposite: it leaves the soil structure intact, blocks light to weed seeds rather than disturbing them, and adds 30 to 50 lb (14 to 23 kg) of carbon per 100 sq ft (9.3 sq m) as the cardboard and mulch decompose. The garden bed you create is biologically healthier in year 1 than a tilled bed in year 5. This is why no-dig gardeners like Charles Dowding have used the technique for 40 years.
How to plant through cardboard mulch
Once the bed has settled for 2 to 4 weeks (longer for tough perennial weeds), you can plant directly into it.
For transplants: Cut an X through the cardboard with a utility knife, push the flaps aside, dig a planting hole into the underlying soil, place the seedling, and pull the flaps back around the stem. Top with a thin layer of mulch.
For direct-seeded crops: Push mulch aside in a row, slice a line through the cardboard with a knife, expose 1 to 2 inches (2.5 to 5 cm) of soil along the row, sow seeds, and cover with the topsoil/compost layer (skip the cardboard for this thin band).
For bulbs: Cut a small hole through the cardboard with a trowel, dig the bulb to the recommended depth into the underlying soil, replace the mulch.
For fruit trees: Lay the cardboard around (not under) the trunk, with a 6 inch (15 cm) ring of bare soil at the base for air flow. Cardboard right against the trunk can cause crown rot.
Where cardboard mulch works best
| Use case | Effectiveness | Best mulch topping |
| Lawn-to-garden conversion | Excellent | 4 to 6 inches (10 to 15 cm) compost |
| Paths between raised beds | Excellent | 4 inches (10 cm) wood chips |
| Around new fruit trees | Very good (keep 6 inch / 15 cm clear at trunk) | Wood chips |
| Existing perennial beds | Good (cut around established plants) | Compost plus wood chips |
| Vegetable bed maintenance | Limited (too rigid for frequent planting) | Better to use straw or compost mulch alone |
| Steep slopes | Limited (slides downhill when wet) | Use erosion fabric instead |
| Areas with persistent perennial weeds (bindweed, Bermuda grass) | Variable (3 layers needed, expect 12 to 16 weeks) | Compost plus thick straw |
Source: Clemson HGIC: Cardboard in the landscape benefits and drawbacks.
The cardboard controversy: addressing the critics
Some gardeners argue against cardboard mulching, with concerns ranging from soil biology disruption to PFAS contamination. The most cited critique comes from The Garden Professors blog, which highlighted gas exchange concerns: cardboard can briefly reduce oxygen flow at the soil surface during the first weeks before it decomposes and opens up.
The current consensus among US extension services is that cardboard sheet mulching is safe and effective when applied correctly. Clemson HGIC's 2025 review notes that the temporary gas exchange concern is real but limited (4 to 8 weeks) and far outweighed by the long-term soil organic matter and weed suppression benefits in landscape conversion settings.
For PFAS specifically: a 2024 practitioner analysis comparing common mulches found that PFAS levels in plain brown shipping cardboard are roughly equivalent to or lower than levels in commercially purchased wood chips and bagged compost. If PFAS is the concern, the answer is sourcing certified clean amendments, not eliminating cardboard.
Five common cardboard mulching mistakes
1. Using glossy or color-printed cardboard
Cereal boxes, gift boxes, and color-printed display packaging often contain plastic coatings, heavy printing inks, or lamination. Stick to plain brown corrugated shipping boxes. If in doubt, the inside of the box should be the same uncoated brown as the outside.
2. Leaving tape and plastic labels in place
Packing tape does not decompose and leaves plastic strips in your garden for years. UC ANR's dos and don'ts emphasizes removing tape and shipping labels before laying cardboard. Strip them off in 2 minutes per box before flattening.
3. Not overlapping seams
Cardboard laid edge-to-edge leaves weed seeds with a perfect escape route at every seam. Overlap every joint by 4 to 6 inches (10 to 15 cm) minimum. For perennial weeds, overlap by a full 12 inches (30 cm).
4. Planting too soon through still-rigid cardboard
New cardboard is stiff and difficult to penetrate. Wait 2 to 4 weeks after laying (longer in dry climates) so the cardboard softens before planting. For spring lawn conversions, lay the cardboard in fall for a planting-ready bed the following April.
5. Using cardboard on paths and slipping when wet
Bare cardboard becomes slippery in rain. Always top cardboard paths with 3 to 4 inches (7.5 to 10 cm) of wood chips or gravel. Never walk on cardboard mulch before the topping layer is applied.
When to choose a different method
Cardboard mulch is not for every situation. On steep slopes it slides downhill. Inside established vegetable beds with annual rotations, cardboard is too rigid to work around. For solarization in summer heat, clear plastic does the same weed-killing job in 4 to 6 weeks instead of 8 to 16. Tilled bed preparation may also be appropriate where you have compacted heavy clay that needs initial structural improvement before any organic matter approach can work. Use cardboard mulch where it shines (landscape conversion, paths, fruit tree zones) and pick the right tool everywhere else.
Use cardboard mulch as one move in a permaculture design
Cardboard sheet mulching is one technique inside a bigger permaculture system: no-till soil building, chop-and-drop mulch, fruit tree guilds, and rainwater capture all work together. Our free 7-Layer Backyard guide walks through how to integrate all of them in a 1/4 acre.
Read the Free GuideFrequently asked questions
Is cardboard safe to use in the garden?
Yes, plain brown corrugated cardboard from US shipping boxes (Amazon, Costco, grocery stores) is safe for garden use. Remove tape, plastic shipping labels, and any wax or glossy coatings before laying. Avoid color-printed boxes, cereal boxes, and food-grease-stained boxes from fast-food chains.
How long does cardboard mulch take to kill weeds?
Annual weeds (crabgrass, lambsquarters, chickweed) die in 4 to 8 weeks under 2 layers of cardboard. Perennial weeds (quackgrass, bindweed, dandelion, Canada thistle) take 8 to 16 weeks. Stubborn invasives like Bermuda grass and Japanese knotweed may need 3 layers and a full growing season.
What do you put on top of cardboard in a garden?
Apply 4 to 6 inches (10 to 15 cm) of mulch directly on the cardboard. For vegetable beds use finished compost or composted manure. For paths use wood chips. For fruit tree zones use wood chips or composted leaves. For ornamental beds use a mix of compost and shredded bark.
Will plant roots grow through cardboard?
Yes. Cardboard softens within 6 to 12 weeks of being wet, and most plant roots penetrate it easily after that. For transplants, cut an X through the cardboard at planting time and pull the flaps aside. For direct-seeded crops, slice a row through the cardboard and expose the underlying soil.
How do you sheet mulch a lawn?
Mow short, water deeply, lay 2 layers of overlapping brown corrugated cardboard, wet thoroughly, and top with 4 to 6 inches (10 to 15 cm) of compost, straw, or wood chips. Wait 6 to 12 weeks before planting. Fall application is ideal for spring planting; spring application works for summer planting with a 4 week settling period.
Is cardboard mulch toxic?
Plain brown corrugated shipping cardboard is not toxic. The starch-based glues used in cardboard manufacturing are food-grade. Soy-based or water-based inks on shipping boxes are biodegradable. Avoid color-printed, glossy, or wax-coated cardboard, which may contain plastics or other coatings.
How long does cardboard take to decompose in soil?
6 to 12 months in warm, moist conditions. Faster in compost-rich vegetable beds (4 to 6 months) and slower in dry or compacted soils (12 to 18 months). By the second growing season the cardboard is fully broken down and indistinguishable from surrounding soil.
Can I use newspaper instead of cardboard?
Yes. Newspaper works for similar weed suppression but requires 6 to 8 layers thick compared with 2 layers of cardboard. Avoid glossy printed inserts. Most modern US newspapers use soy-based inks that are safe in the garden.
Resources
- Oregon State University Extension EM 9559: Sheet Mulching and Lasagna Composting with Cardboard
- Texas A&M AgriLife: Use Cardboard to Stop Weeds in Your Garden
- UC ANR: Sheet Mulching with Cardboard Dos and Don'ts
- Clemson HGIC: How to Use Cardboard in the Landscape
- GrowVeg: Is Cardboard Killing Your Garden?
- The Garden Professors: The Cardboard Controversy
- GrowItBuildIt: Kill Grass and Smother Weeds with Cardboard or Newspaper


